The problem
The clove hitch is a nice easy knot to do, but under the pressure of mooring can be difficult. I have to forget the Girl Guides method of 50 years before, and learn to tie it to a stationery line. This can be too slow for immediate needs. Also, clove-hitches are not so easy to undo because of the weight of the hanging fender pulling against the simple knot.

If the fenders have to be moved to the other side of the boat quickly, or shifted in position up or down, all the extra line used to make a slip end still has to be dealt with. Also, sometimes when others assist during mooring, the knot isn’t always so easy to undo quickly.

The solution
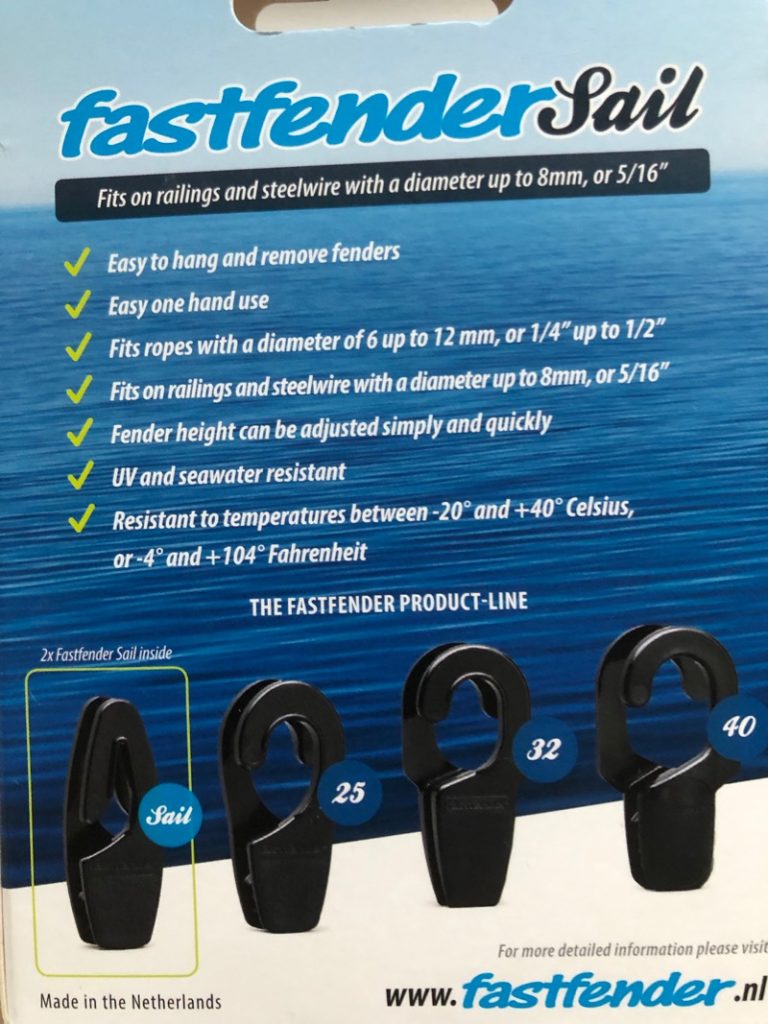
‘fastfender” (by http://www.fastfender.nl) is the answer. I spotted these on Ralph and Barabara’s Helia 44 Evolution, ‘Lille Venn’. The skipper, Ralph Bader showed me how they worked. They come in packs of two available from the chandlery.
Method
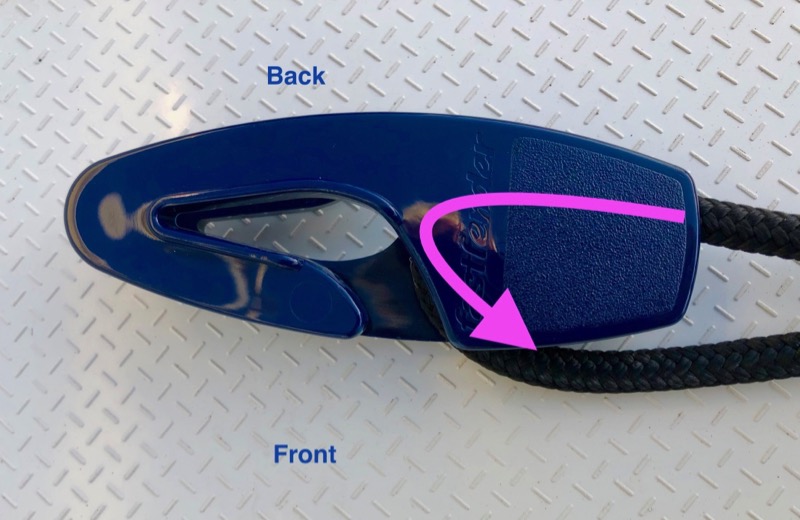
It’s a single plastic device that is UV and saltwater resistant. See the image below where I’ve named the parts of the device.
It was not possible to show the details of the blue device in my photo effectively. I found the white pair on SVB® website and annotated it. I refer to the picture on the right as the front view.
First, load the fastfender.
The instructions on the packet don’t mention this. The base of the device must be threaded with the line of the fender. First, feed the end of the line into the plain square at the base square. Then feed through as much line as you want the fender to hang down, and lead the line over to fall on the front face. Press down on the line, so it settles into the front teeth in the middle of the device.

L- Base square R- teeth 

Turn over and press the line into the teeth
Ready to use
The fast fender is now ready to use. Now the packet instructions might be enough to follow. I did not understand the first description and image. What does it really mean? “attach to the rail”. Off to uTube…

Ready to attach to the guard rail 


1. Align
Attach? No. What it means, is to angle the device so the top of the hooks is parallel to, and on both sides of the guard rail. At this point, it is not attached. Start by orientating the device so the back is facing to the right, under the guard rail. Lift up the device so the hooks are both sides of the rail. The guard rail naturally stops upward movement when it rests on the turned over line. At this position, the hooks will naturally align just above the guard rail.

Align below the guard rail 
Lift vertically upward 
line hits the rail, hook is above the rail 
Top view
2. Turn 90 degrees & dropdown
Turn the device 90 degrees clockwise, so the front is now forward. Because you originally orientated the starting position so the back faced to the right, when you rotate 90 degrees, the adjusting teeth will face outward.
Allow the device to drop so the hooks are taking all the weight on the guardrail.

First turn 90 clockwise 
Let the device drop down to hang off rail
3.Adjust the line length
Finally, you need 2 hands to do this step. (If you only use one, you lack control to keep the device in position). To adjust the line, steady the device with one hand and peel the free end of the line away from the teeth.
The line is now free to move through the base square until your fender sits at the height you want above the water.
When satisfied, turn the line forward and down, so it is back over the teeth and check they are engaged.
Secure the free end of the line just in case, with an overhand knot. If the teeth grip slips, then the knot will jam in the square hole.

Opening the line- pull forward 
Freed line now pulls up or down 
Secured back in the teeth 
Just in case- an overhand knot
If you prefer a video
Here you go. I think it’s a bit tedious, but perhaps a video is worth a thousand words. It begins after the device is loaded with the fender.
Acknowledgments
( Credited at the end of the video)
Shelley Beer 26 Nov 19, Gibraltar


